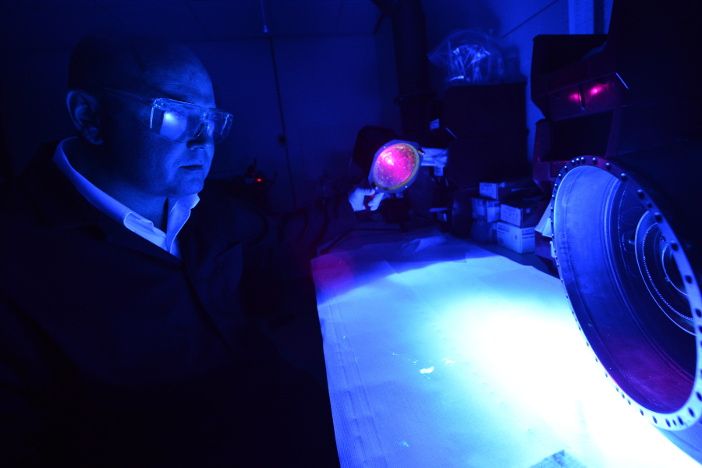
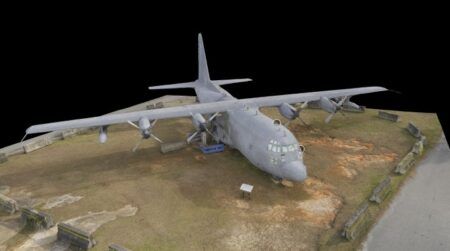
Non-destructive testing (NDT) is a way to detect and evaluate flaws in materials. Within aerospace NDT plays a vital role in the design, manufacture and maintenance of aircraft.
The simplest and most accurate way of testing materials and components is often to test them to destruction. Destructive testing is used in aerospace to determine the physical properties of materials, components and assemblies. It can reveal useful information about characteristics of materials including ductility, tensile strength and fracture toughness.
However, destructive testing is not always possible or desirable when testing parts and materials destined for, or already in use on, aircraft mainly because of their high value.
Instead engineers and technicians use non-destructive testing techniques, equipment and analysis to examine materials and components before they enter service and while they are in service, without destroying them. NDT can also detect flaws and differences in materials that would otherwise be very difficult to detect using destructive methods.
When is NDT used in aerospace?
Safety is the single most critical aspect of aviation. NDT is used throughout a product’s lifecycle – from the qualification of new materials and the designing of new aircraft to in-service inspections of aircraft structures and engines.
During development, researchers may use NDT to help develop lightweight and more flexible materials and structures for aircraft. Engineers will use NDT tools and processes during aircraft testing and certification to test performance and durability and investigate issues.
Aircraft makers use NDT to ensure the quality of materials and joining process during and after manufacturing. Finally, maintenance engineers and technicians will use NDT to inspect in-service aircraft for damage and cracks at regular intervals to guarantee airworthiness and safety.
How is NDT used in aerospace?
The vital aspect of NDT is that the part or the material being tested remains whole and serviceable after the testing.
NDT can generally be split into two areas: surface techniques and sub-surface techniques. Within these two areas is a range of established and trusted tools, such as tap tests conducted with hammers to more recent and advanced technologies, such as 3D computed tomography.
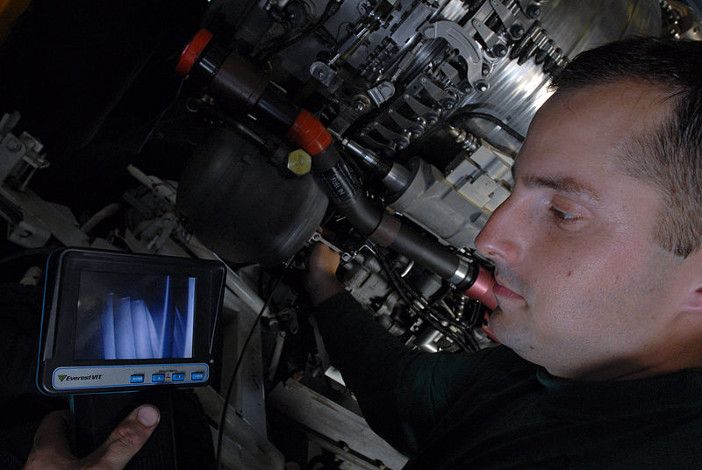
Visual inspections are the oldest and simplest method of non-destructive testing. It’s often said the human eye is the most powerful NDT tool. Visual inspections of aircraft structures and components for damage such as cracks, corrosion and misalignment will often be the first sign of a problem.
Various equipment is used for visual inspections, from magnifying glasses and mirrors to video borescopes for viewing hard to reach places, charge-coupled devices and remote viewing systems.
Liquid penetrant testing is another simple and quick method widely used in aviation to detect surface defects and structural damage in non-porous materials.
Test objects are coated with a highly viscous dye. Once the dye has settled into any cracks or flaws, the object is cleaned, leaving just the dye which has penetrated the cracks. Some of this remaining dye will flow back out, revealing an indication of the cracks and flaws.
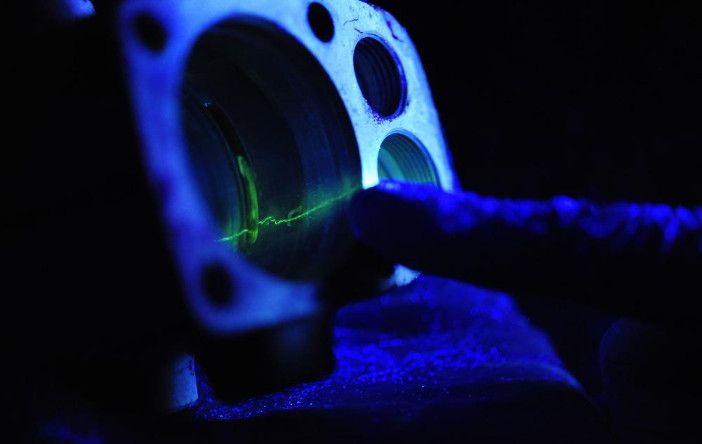
Fluorescent penetrants are often used for sensitive materials and parts. Liquid penetrant testing is a flexible technique and can be carried out in-situ or in a workshop or hangar. It is also often part of cleaning and servicing parts, where the surfaces of objects are inspected after cleaning.
Acoustic emission testing is the application of an abrupt force to the test object, a ‘tap test’ and the analysis of the results. This analysis could be as simple as listening to the sound or using multiple sensors to record the resulting stress waves and small deformations that occur.
Leak testing uses four main techniques: bubble, pressure change, halogen diode and mass spectrometer testing, and involves pressurizing and immersing the test object in liquid to trace and record leaks. Aircraft and engines use large amounts of liquids and gas – leak testing is therefore an important part of manufacturing and maintenance.
Radiography in aerospace can use both x-rays for thin materials and gamma rays for thicker materials. Traditionally film has been used to capture the image, but is being superseded by digital methods.
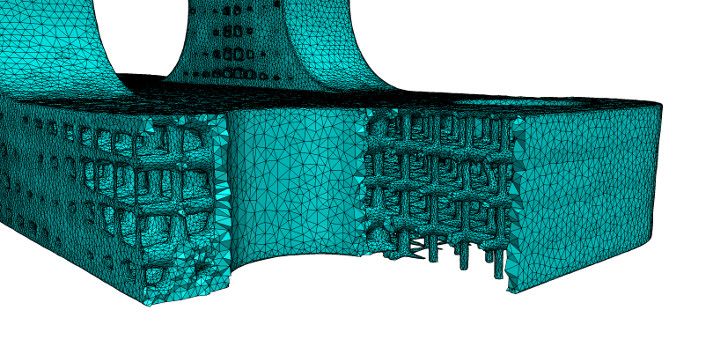
A further recent advance is 3D computed tomography (CT) scanning, which captures multiple x-rays of a test object to build up a cross-section view of the object on a computer.
Ultrasonic testing is the most common sub-surface technique and uses high-frequency sound waves to locate defects within a component or material. It is commonly used to detect defects in welds, fittings, joints, bolts and adhesive bond quality. The technique is similar to sonar, in that it records and analyzes the reflection of sound waves.
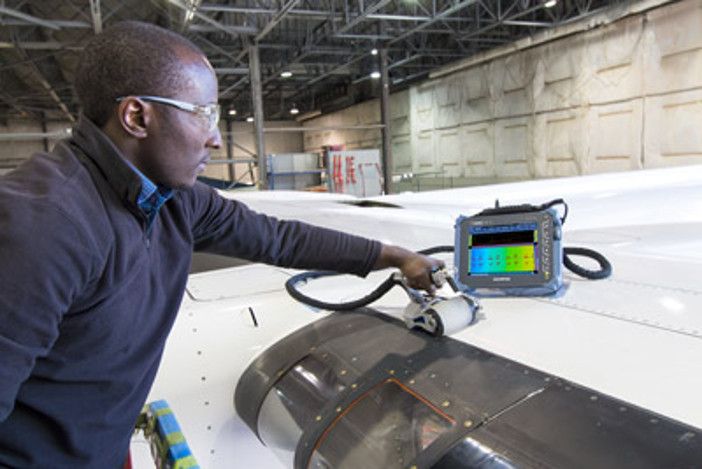
There are several different ultrasonic testing techniques used by aerospace engineers and technicians, including straight beam inspection, immersion testing and phased array inspections. All use an ultrasonic transducer, also called a probe, to send and receive soundwaves and display results as a graph on a screen.
Magnetic particle testing involves inducing a magnetic field in the test object, applying magnetic particles to it either in dry form or suspended in a liquid, which could be colored or fluorescent, and then examining the object using suitable lighting.
The technique is used to detect discontinuities in ferromagnetic materials. Several different pieces of equipment can be used for magnetic particle testing depending on the environment, including yokes, prods, coils and heads.
Eddy-current testing is a sub-surface technique that induces an electromagnetic field in a conductive test object and measures the secondary magnetic field generated around the electric current to determine where flaws are. Eddy current testing is widely used in aircraft maintenance to detect cracks caused by fatigue or corrosion.
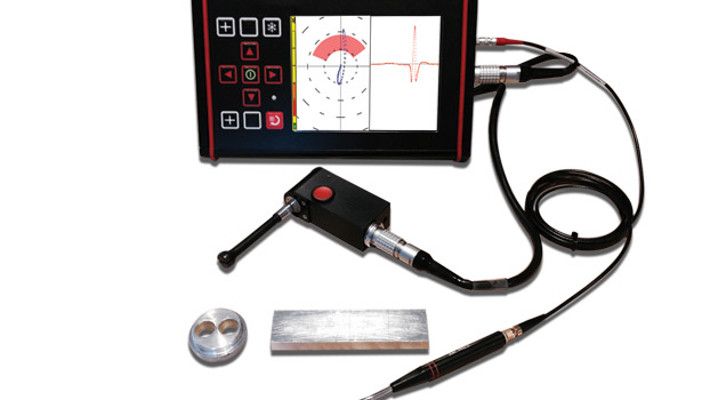
Vibration analysis monitors the vibration signatures generated by a rotating piece of machinery and interprets them to detect when something out of the ordinary occurs. Displacement sensors, which use eddy currents, velocity sensors or accelerometers attached to the machinery, can be used for the monitoring.
Thermal/Infrared testing involves mapping the surface temperatures of an object and can be used to detect damage such as corrosion, delamination, voids and disbonds. It works by detecting anomalies in the heat flow in a material or component.
Laser testing includes techniques such as shearography, holography and profilometry. All use laser light in different ways to detect deformation on the surface of objects and computer processing to compare stressed and unstressed conditions. It is most useful when detecting tiny flaws a few micrometers in size.
NDT standards and training
Although looking for cracks and flaws in aircraft and materials is an arduous task it can mean the difference between life and death. The need to ensure high standards of quality and safety during manufacturing, assembly and while in-service has led to the development of NDT standards and specifications for both civil and military aviation.
There are several national and international organizations that develop standards for NDT methods, equipment and training. These include the American Society for Nondestructive Testing (ASNT), the British Institute of Non-Destructive Testing, the International Committee for Non-Destructive Testing and the European Federation for Non-Destructive Testing. International standards are also overseen by the ISO and the ASTM International (American Society for Testing and Materials).
Standard exists for both civil and military tests and training. Common certifications for staff using non-destructive testing include ASNT’s Central Certification Program (ACCP), while the SNT-TC-1A Personnel Qualification and Certification in Nondestructive Testing provides guidelines and a framework for in-house NDT certification programs. SNT TC-1A has three different levels of qualification, each with more duties and responsibilities than the last.
Conclusion
The use of NDT in aerospace is increasing thanks to advances in technologies, connectivity, data handling and analysis. Its complexity is also increasing, although often traditional techniques such as tap tests or liquid penetration tests still offer more than satisfactory ways of testing aerospace parts. This part of the aerospace testing sector is crucial to the safety of passengers and all others in the aviation sector. To carry out NDT, adherence to standards and training are necessary to ensure the high levels of training continue in the future.
More information and sources:
The American Society for Nondestructive Testing, which organizes one of the largest NDT conferences, this year in Houston, Texas.
The British Institute of Non-Destructive Testing
