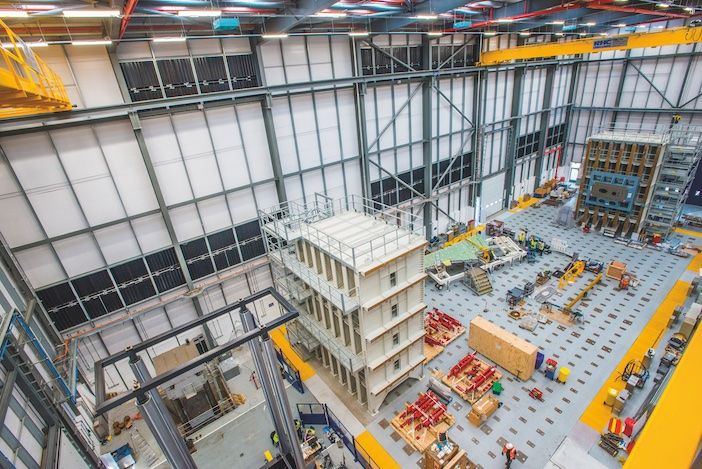
Airbus has opened the doors to its most advanced research and test facility, which is located in Filton, UK and equipped with the latest machines and equipment for structural and materials testing.
The £40 million (US$57 million) Aerospace Integrated Research and Test Centre (Airtec) covers more than 10,000 square meters (108,000 square feet) at Filton. Airtec, which is available for use by companies in other sectors, is Airbus’s primary site for the development of aircraft wings, landing-gear systems, fuel systems and is also a research centre for additive layer manufacturing.
Construction of Airtec started in 2017 and staff moved in during 2019, but the center’s official opening was delayed initially to allow installation of equipment. Covid-19 then delayed launch plans.
Earlier this month the UK Government’s Secretary of State and Aerospace Testing International were given an exclusive tour of the facility by two senior Airbus engineers, Steve Raynes, head of research and technology and Pete Smith, head of laboratories and testing.
Airtec has been purpose-built for testing. It can accommodate large-scale aircraft assemblies such as full-size wings down to the individual components and materials used in aircraft design.
Smith said, “Before, we had a solely test-orientated elderly building. Now we have a facility that enables us to research, test and analyze in the same place. It enables faster design iteration and more efficient certification testing.”
Airtec is laid out in three main areas – the strong wall and strong floor hangar, a second testing hangar and the offices and laboratories to accommodate researchers and engineers.
Strong wall and floor
The first stop is the strong floor and wall, the focal point of Airtec and an area we look down at from a high gantry.
One of the largest in the world, the strong floor is 40m (130ft) long with two 14m x 10m (46ft x 32ft) strong walls. Together they can test the wing of any aircraft in the Airbus fleet and recreate loads up to those experienced on an A380 wing, where the wing connects to the fuselage and there is maximum upbending.
Raynes said, “The design and set up time for a fatigue test with the strong wall and floor is half of what it typically was, because of its modular approach to building test rigs. But equally important is that the test frames are re-usable – we won’t be throwing away frames at the end of each year and we can reconfigure tests much faster.
“It is also much more capable than what we had before. The hydraulics system links 12 pumps together through an automated manifold system. We can divert all of the power to one test if we want it done quicker or shut down an area for maintenance without disrupting an ongoing test.
“It gives us enormous flexibility and there will be no extended shutdowns. There’s not many places that have anything similar.”
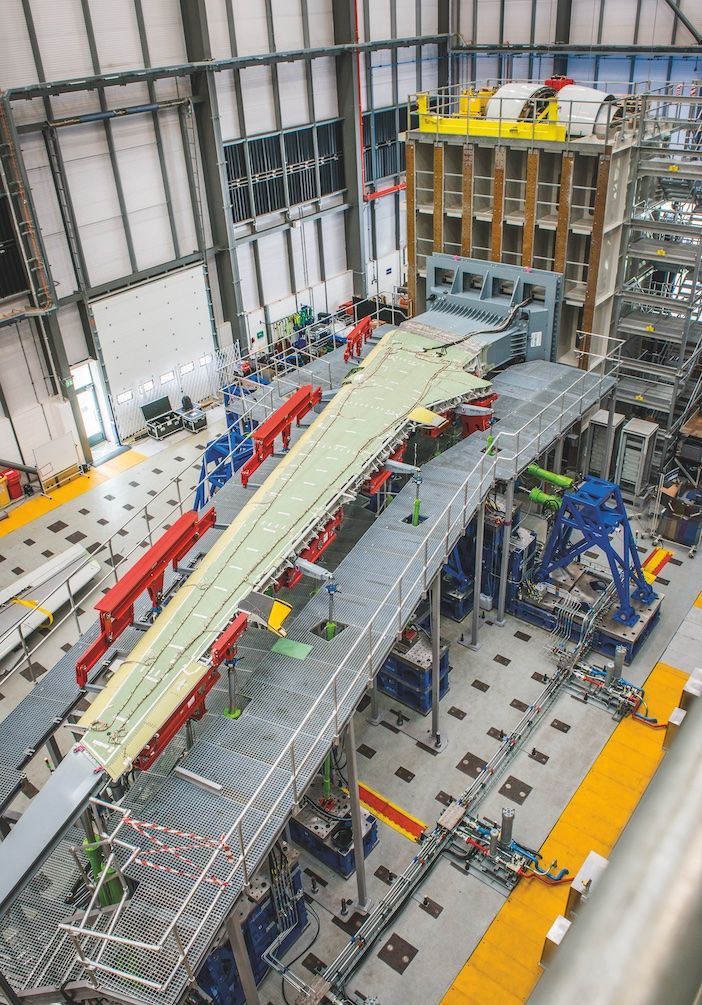
Engineers at Airtec are currently retesting an A321 wing to prove it can be used for more than double the lifetime it was originally designed for and to support the certification of new single aisle family variants. Also, soon to be attached to the area’s second wall is Airbus’ Wing of Tomorrow demonstrator wing, which features possible future wing technologies created with new manufacturing processes.
The A321 test will continue for another year and the Wing of Tomorrow will be on the second wall until 2025. “The walls can be used on both sides and reconfigured quickly so there is spare capacity,” said Smith.
An aircraft currently takes around seven years to achieve first flight from the launch of its development program. Airbus wants to reduce that by two years.
“In the certification process, the critical path is fatigue testing because it takes such a long time. A full aircraft fatigue test can take six years. The focus is on reducing the time it takes to do fatigue testing. You can’t fly until you have a certain amount of evidence,” said Raynes.
High capacity test machine
Almost hidden next to the strong wall and floor, a testament to the facility’s size, is what can be called a test machine on steroids. The massive High Capacity Test Machine is nearly the full height of the 25m high hangar.
The HCTM can provide 25MN of load for compression and tensile load testing. For fatigue testing it can do 20MN at 1Hz. The HCTM can handle coupons and structures up to 9m (30ft) wide. It can also perform four-part bend tests.
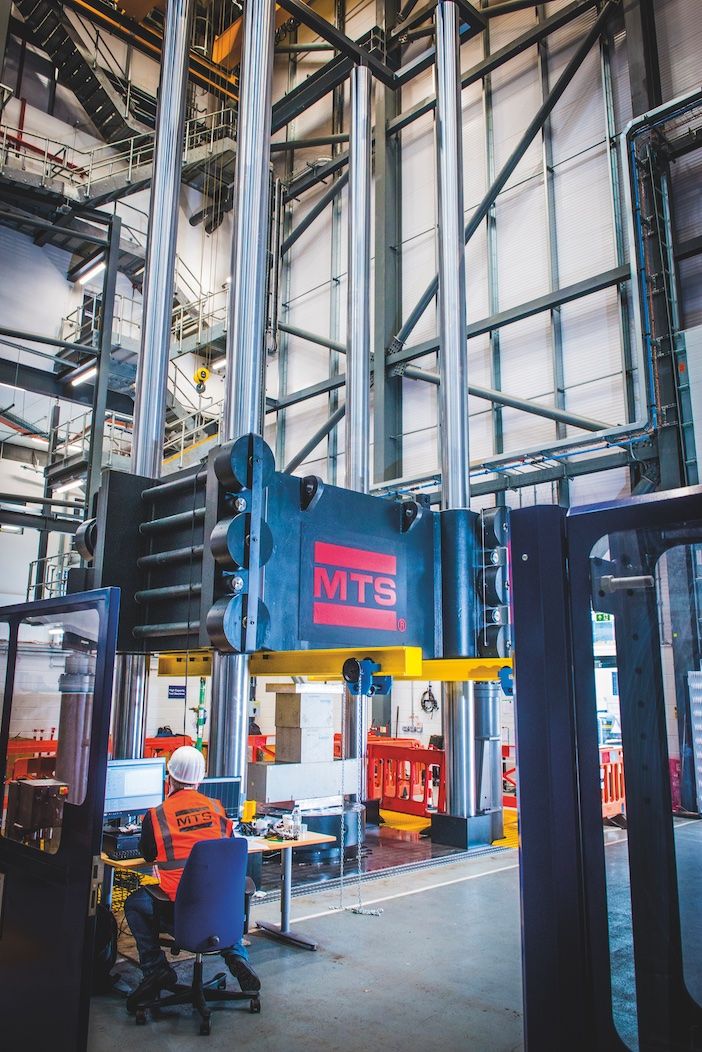
“There aren’t many in the world that can do lateral loads. You can put torsional load on it as well as tension and compression, so it’s great for wings,” said Raynes. “It’s one of the biggest in Europe and tests very quickly. You can cycle it on and off every second, it’s a massive load range. On top of that you can adjust it from a 1m to a 9m specimen quickly. In most other rigs that would take four days.
“We’re really interested to get people in to use it. It could be used for any large structures in the nuclear, oil and gas or wind turbine sector.”
Additive layer Research
A sectioned-off area hosts the Open Architecture Additive Layer Manufacturing Machine (OAALM). This flexible machine can make large complex parts in titanium and other metals. It press rolls powered metals on top of the laser deposition and has the capability to use various laser sources, to get the maximum properties out of the material.
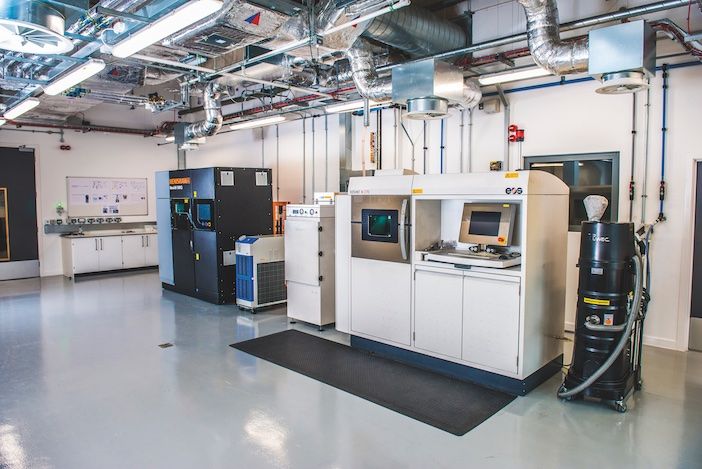
Researchers are using the OAALM to develop new manufacturing processes and improve practices elsewhere in the business.
“The OAALM can generate optimized shapes and structures that are not possible to make with subtractive machining. We check it, verify it, then microscopically look at it in the laboratories,”Smith said.
“We are looking at ways to improve production reliability and how to optimize it by changing the parameters. The machine can produce high-cost large structures that would require large forgings, which have years-long lead times. Or it is useful for anything that is titanium, because it reduces wastage.”
Laboratories
The strong wall and floor and ALM research areas areas only represent around half of the facility.
Elsewhere on the ground floor of Airtec are several different test laboratories – for metrology, bespoke measurement activity such as ALM and NDT. Every laboratory has been designed and built from the ground up with all of the services each needs for its specific type of testing.
Engineers had a huge amount of input into the design of the facility, including the labs and were embedded with the design team for months. Following an initial specification, requirements and equipment were grouped into rooms that mirror testing flow: conditioning a specimen, operating on the specimen, then the microscopic investigation.
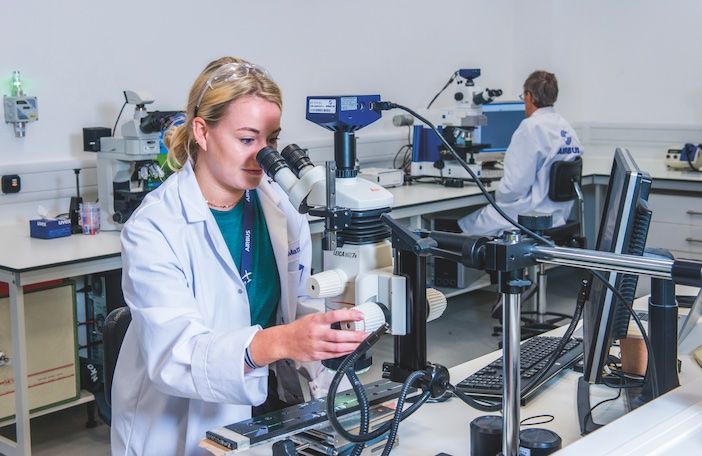
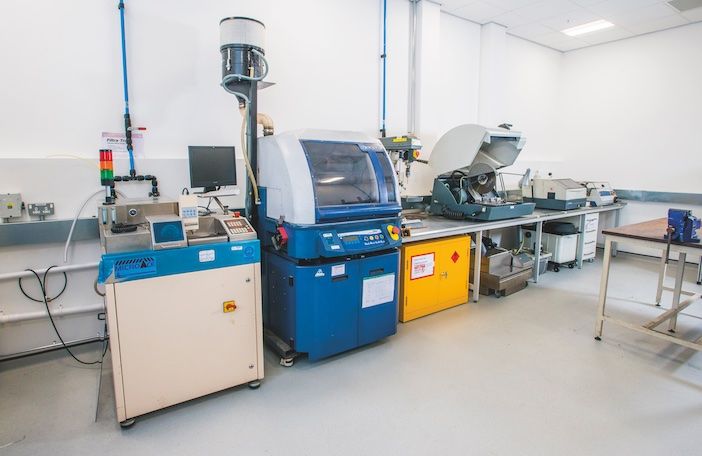
“The laboratories have different and complex services going into them – some have got nitrogen gas, compressed air, three-phase electrics, special drainage systems, and temperature and humidity settings for calibration purposes,” said Smith.
“It was challenging because on the main floor we are testing large structures with massive vibrations and in the same building we have a laser laboratory and electron microscopes where we don’t want any vibrations,” Raynes said.
Control room
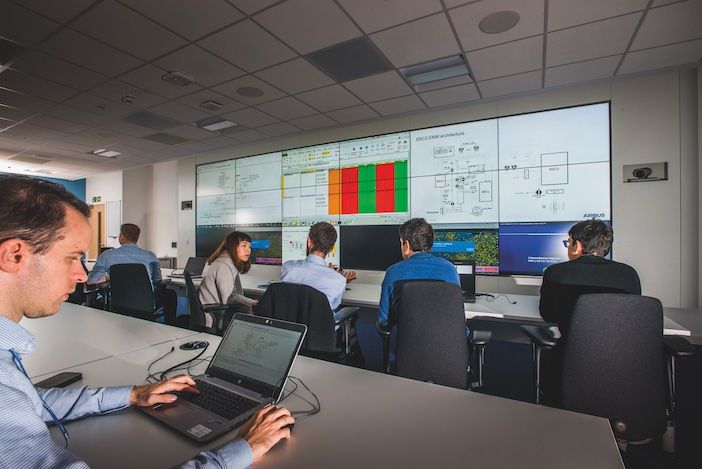
Airtec’s control room has multiple displays and is arranged like spaceflight mission control. Data from tests from the workshop floor, which is visible down through narrow windows at the back of the room, can be displayed live if necessary on the screens alongside design data and other information.
The room is identical to one in France and one in Germany and engineers use it for collaborative design reviews and other meetings with colleagues at different Airbus locations.
Smith said, “We have some capabilities and test facilities in the UK that may be required in France and Germany. Using the communications systems we have now you can avoid duplication of those capabilities.”
Airtec is home to around 30 engineers who specialise in different aspects of structural testing and fatigue. Similarly to how tests run on the machines and equipment at Airtec can be viewed live at other Airbus sites, their expertise may be called upon by other parts of Airbus using the control room.
For example, a fuselage pressurisation test may need a specialist in a particular type of measurement at Filton. That specialist can connect with the test through the network and observe it. They also travel to the different sites.


