Automatic defect recognition in industrial x-ray applications allows the ability to automate the pass / fail decisions on individual parts based on system settings programmed by a quality engineer.
These systems are designed to enable repeatable, reliable, documented results independent of human inspection error. The automatic defect recognition software makes it easier to detect defects difficult to see with older techniques. With the right software tools, systems can help inspectors find, characterize, and disposition anomalies.
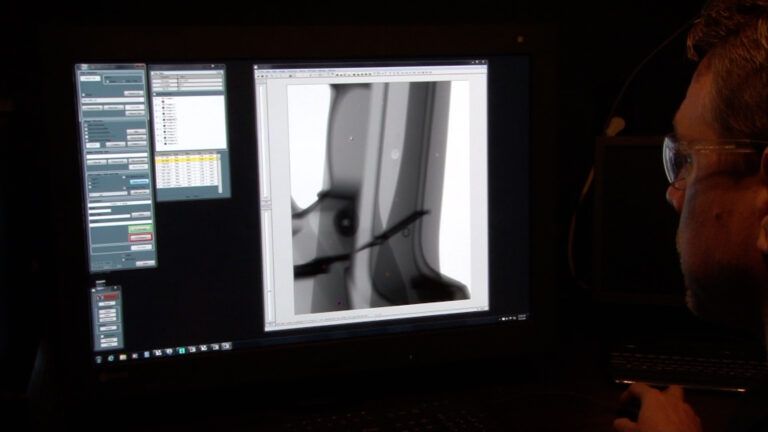
There are two applications of automatic defect recognition (ADR), automatic and assisted. With full ADR, the system takes the image from the machine and makes a decision based on the programmed specifications, such as flaw sizes and number of flaws in a certain area. In this case, the software will judge the part and present a final result. The assisted ADR takes a step in between. It does the same processing, but instead of just presenting the final result, it presents the image complete with markings of potential defects. Based on the preselection of defects, the operator makes the pass / fail decision. In some cases, the specifications may dictate the part is inspected by a certified inspector. The assisted application of ADR speeds up the judgment time in this case. During the part scanning process, the images are sent to an offline workstation allowing the engineer to analyze results and parameters separately while the system is in operating mode. The engineer can pull data of the part for each view, view part defects, including the ability to view an entire list, view the physical measurement to identify the size of the defect, enhance the image for manual inspection, visually inspect the part in conjunction with ADR and view individually or with another for assisted, double scrutiny.
However, ADR is a holistic approach that involves more than just a sophisticated processing of images. From manipulation and infrastructure to greater learning and adaptation, ADR gives managers and operators the tools they need to make intelligent adjustments. These critical adaptations improve learning, reduce production cycle time, improve quality, and also contribute to statistical process control (SPC) programs.
The benefits of ADR affect both the efficiency and profitability of the business. ADR provides more accurate, reliable and repeatable evaluations, and it increases the speed of inspection. It helps to reduce the operator’s workload, scrap or waste parts, and enhances the security of parts produced. In addition, the data is automatically added to the database. ADR software classifies flaws by categories and types to track the statistics to identify any trending issues including single flaws, flaw distances, flaw densities, porosity, string flaws, inclusions, shrinkage or gas holes.
This data helps the manufacturer improve how the parts are made. Without ADR, it is much harder to identify statistical trends. With manual systems, operators would have to examine several images and markings which would be difficult to aggregate. This data can help identify if the manufacturer needs to repair or replace equipment or part molds/forms due to wear or system degradation. One of the inspection issues, especially for manual inspection, is parts that show as failing but actually are compliant. ADR software helps avoid this. The failed parts are proven through the customers’ specific settings, the before and after tests, and the series of ADR tests. There is usually a 30-day test run to get statistical data tracking that would identify if results start to trend in a way which would indicate a problem.
This article was supplied by YXLON


