Non-contact measurement and scanning firm Physical Digital has become the first company in the world to receive Nadcap accreditation for measurement and inspection using 3D Structured Light.
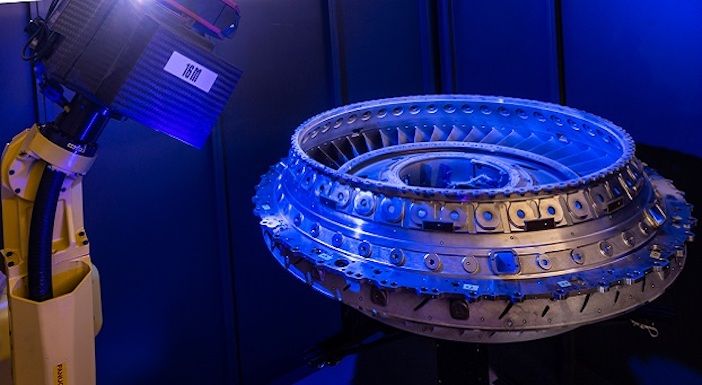
The 3D Structured Light (3DSL) measurement process projects a phase-shifting pattern onto the surface of an object which is then recorded using the stereo camera principle. A narrow-band blue light enables precise measurements to be carried out independent of environmental lighting conditions, improving overall accuracy.
The camera’s sensor accurately measures the divergence and convergence of the pattern using triangulation principles, creating a high-density point cloud of surface measurements.
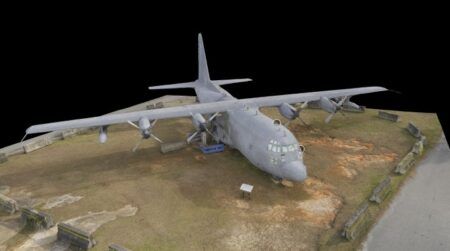
Photogrammetry is used in conjunction with 3DSL to measure large objects such as cars, boats, trains and planes, because it increases the scanning area whilst reducing large deviation errors.
The data is then converted into a polygon mesh using software. This mesh can then be inspected directly as a Computer Aided Design (CAD) model or fully reverse engineered for re-manufacture, for analysis or for further Computer Aided Engineering (CAE).
Physical Digital provides 3DSL measurement services to the aerospace industry for use in repeatability studies, batch measurement and inspection of industrial components from single turbine blades to complete jet turbine engines and full aircraft.
The UK-based company operates a metrology facility optimized for 3D optical measurement combined with environmental monitoring and controls for precise temperature control, diffused airflow distribution, optimized lighting and humidity monitoring to ensure any effects are understood and mitigated.
According to Physical Digital, variation in temperature, air density and airflow can impact measurements made by 3D scanning and create uncertainty in results.
Tim Rapley, managing director of Physical Digital said, “We are the first company in the world to achieve a NADCAP accreditation for measurement and inspection using 3D Structured Light.
“We use GOM metrology systems to capture high-accuracy surface data for a wide variety of industrial sectors including aerospace. All of the measurement data is captured under rigorous constraints and stringent business processes and is traceable back to the international standard.
“Achieving a Nadcap accreditation of our 3D Structured Light services will provide our customers with the added assurance that Physical Digital delivers the highest quality data with unprecedented levels of traceability”.
Michael Hayward, executive vice president and chief operating officer at the Performance Review Institute, the organisation that runs the Nadcap accreditation, said, “Congratulations are due to Physical Digital, as their hard work has resulted in achieving Nadcap accreditation for measurement and inspection using 3D structured light and their supporting company quality management system.”


